How to obtain a flyback transformer from a CRT based device
For those of you who don't know, a CRT is a cathode ray tube. It's whats in any TV or computer monitor that has a glass "tube". This tube requires high voltages (at low amps) to run, and this is provided by the flyback transformer. To remove the flyback transformer without dammaging it, follow this simple step by step guide. Special warning - leave the TV unplugged for some time. This will discharge the little electrolytic capacitors. You will also have to discharge the tube, I will go in detail about that later. Note - this is only recommended for discarded televisions. You wouldn't want to break a working one, would you? Note, some pictures can be englarged by clicking on them. These are the pictures that I felt needed a higher level of detail. If you need a higher level of detail on a picture, and it's not available, please notify me. I will possibly make it enlargable.
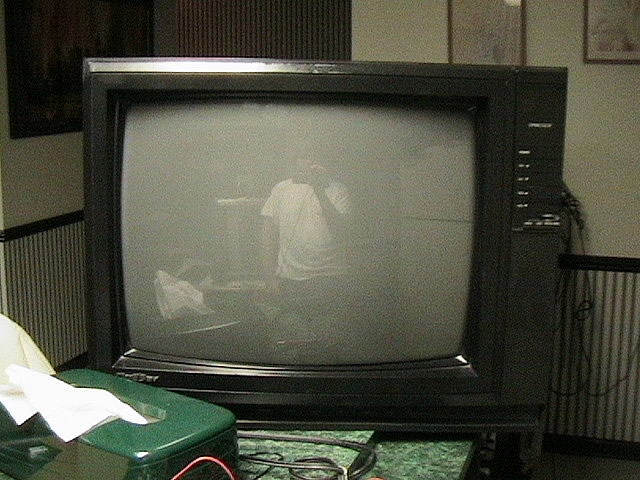
First, get yourself a television set, or old computer monitor.
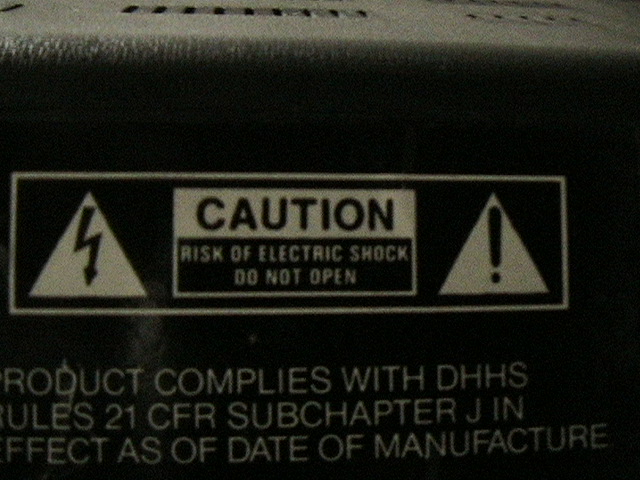
Please note that the TV has this warning, then completely disregard it in the next step.
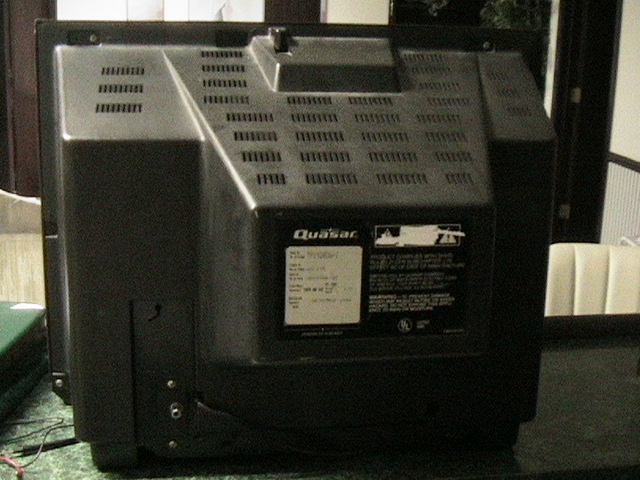
This shows the screws on the back that hold the TV together. Ironically, almost all TVs have indications on which screws you need to remove to take it apart, despite the warning sticker. They are the little silver dots in the three corners you can see. Remove all four, and any more neccesary.
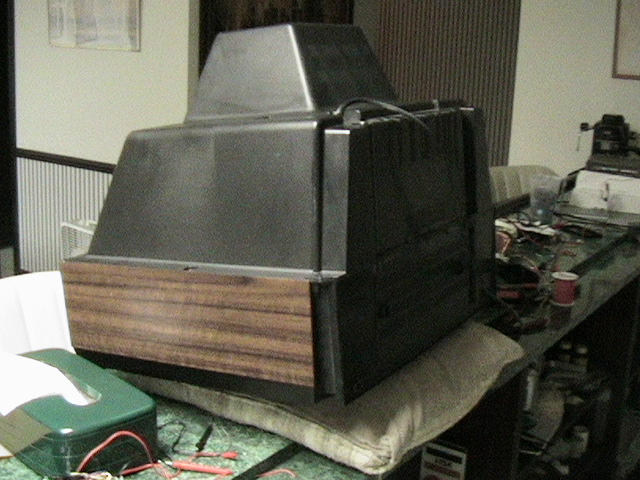
Now, lay it on it's screen on a soft, stable location
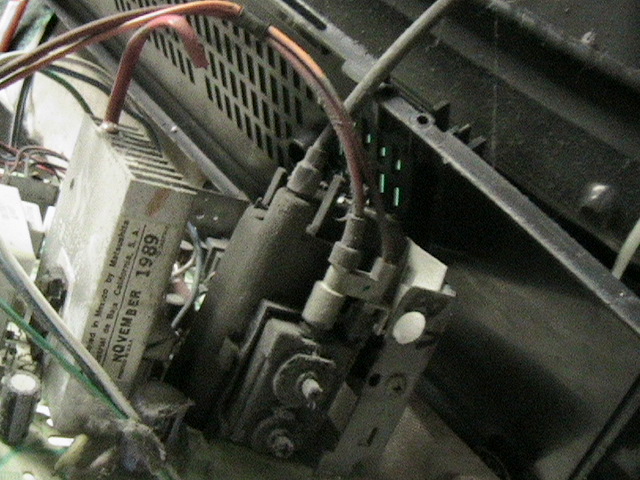
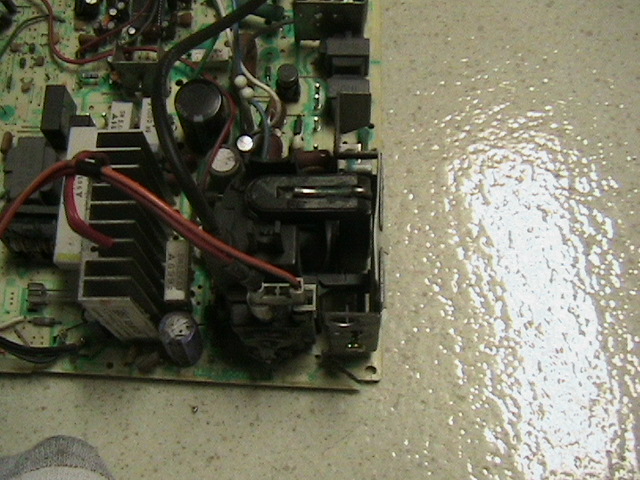
Gently pull off the back cover. If it protests, look for screws you missed, or wires. It is not good practice to clip any offending wires. Simply find the best way to disconnect them or rerout them. Only clip if neccesary. This is what should generally confront you, if you're looking at the bottom of the TV.
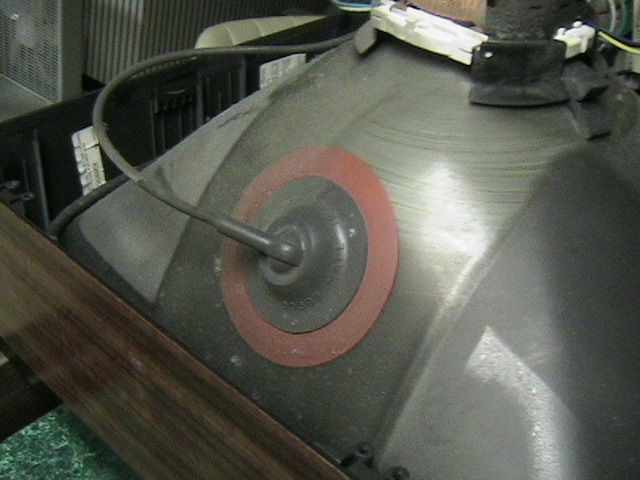
DISCHARGING THE TUBE - Before you go around touching anything, you must discharge the CRT tube. This can act as a giant capacitor if recently used. On the top, you will see what looks like a large wire coming out of a suction cup. You must use a flat peice of steel, insulated on one side (For your hand), like a screw driver. Towards the handle, clip an aligator clip. The other end should be grounded. Slide the screwdriver under the suction cup directly towards the center. When you hit the metal clip, it'll make a snapping noise if it had a charge in it. In which case, you would be in a lot of pain if you didn't discharge that.
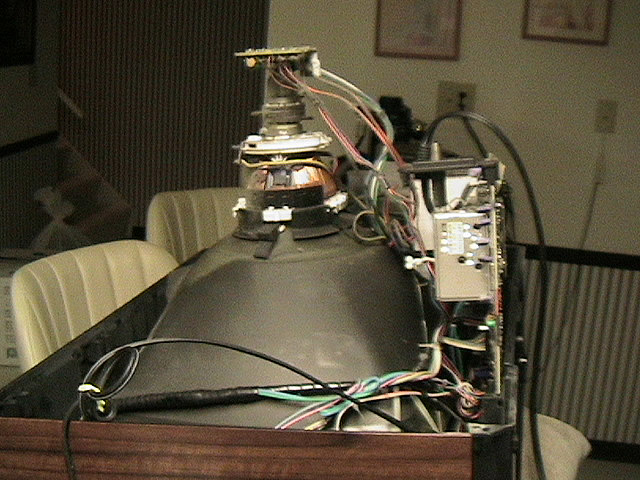
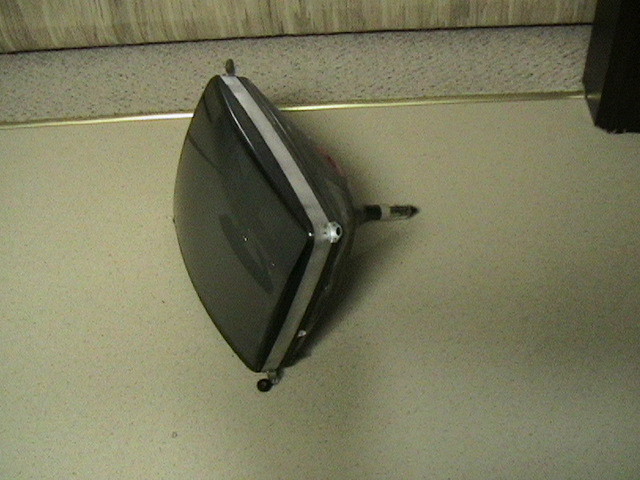
This is a side view. Note how large the tube is.
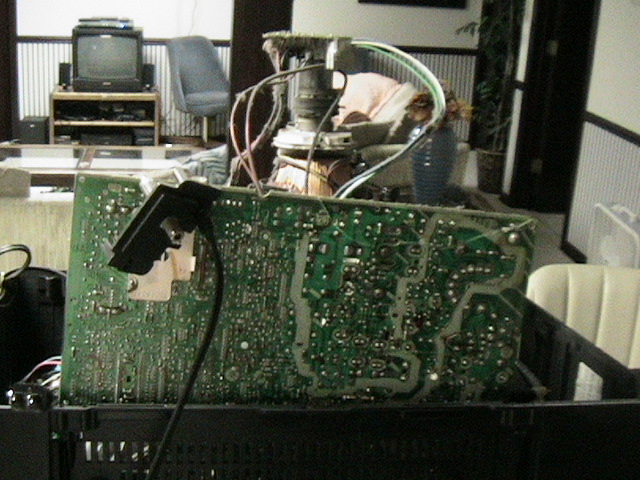
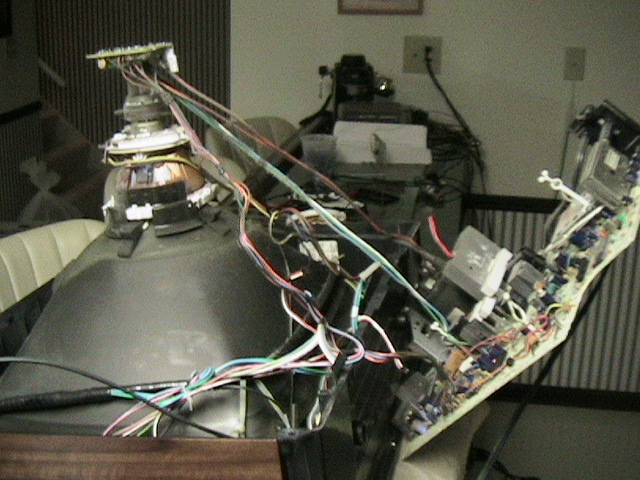
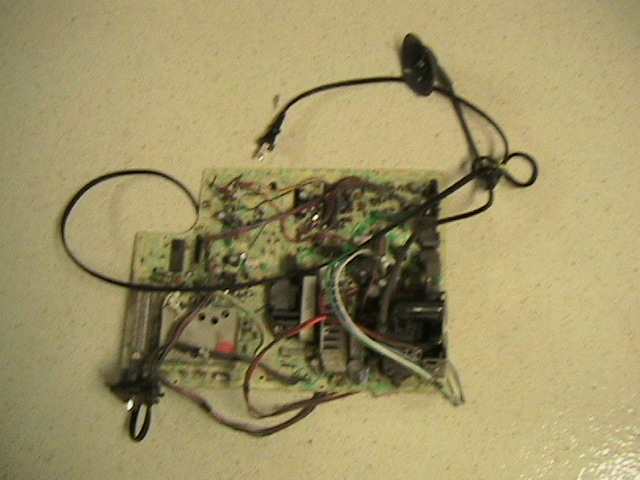
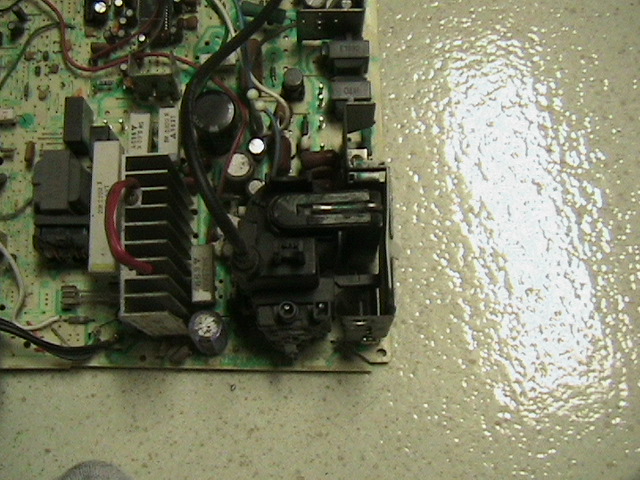
Begin removing the main board of the TV set. There will sometimes be screws holding this on, or other fastening devices. You must look for these, every TV is different. Once the board is loose, you will notice a multitude of wires stopping you from completeing the removal. Again, find a way to disconnect them instead of clipping them. Though it looks like a lot, they are all grouped. Most have disconnects at the board.
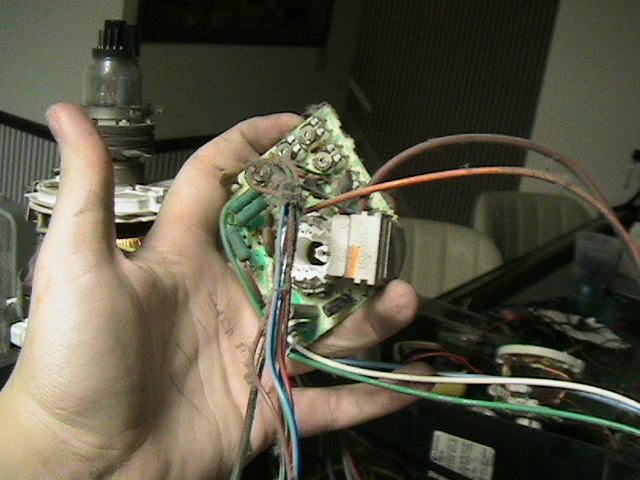
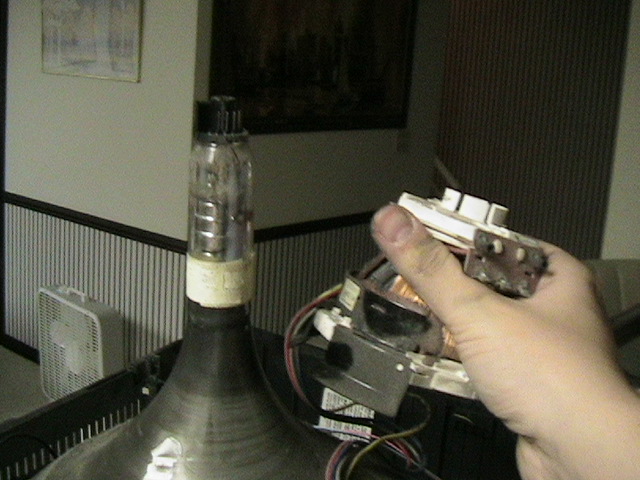
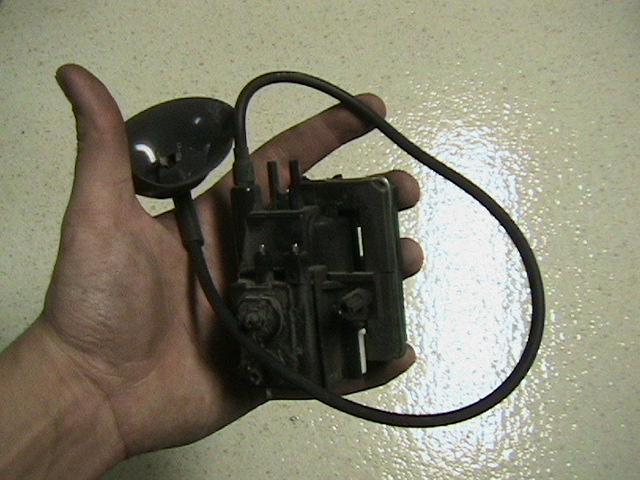
The clusterfuckage of wires that goes to the top of the tube may not be removable, however that small board connected to the top can be seperated from the tube. The board is in my hand, and the tube is in the upper left of the picture.
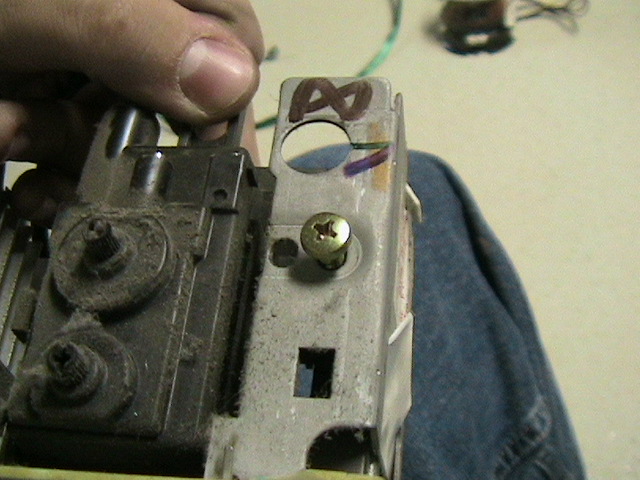
This, is your flyback transformer. It will have one thick wire that attaches to the tube on the side.
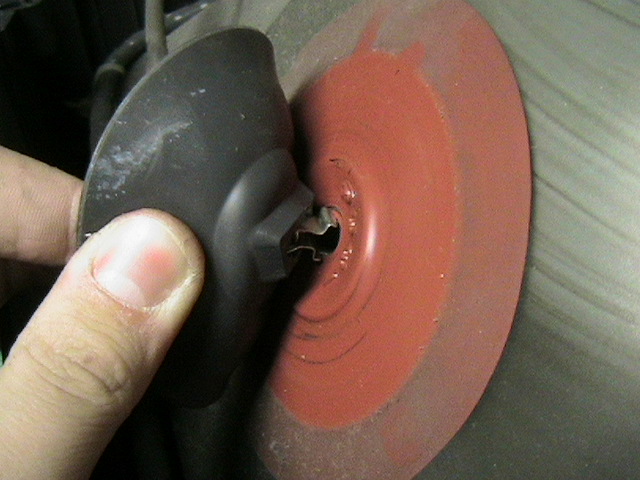
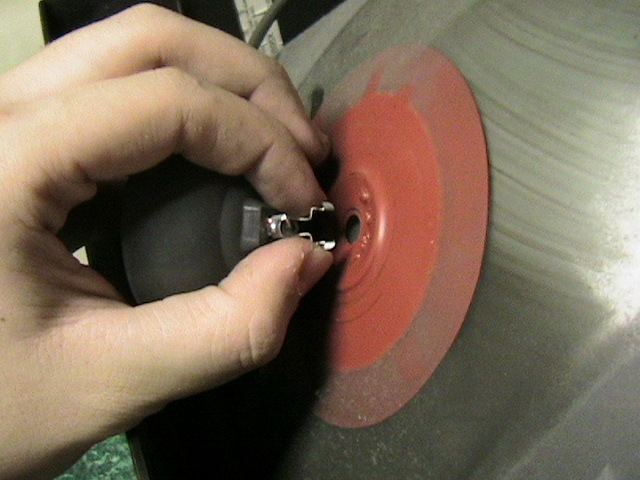
This is where the thick wire connects. To remove it, simply peel up the rubber to expose the press and lock connector. Then squeeze it together with your fingers, or needle-nose pliers and remove.
 |
 |
 |
The board should be completely removable by now. Remove it and set it on the side while you continue to disassemble the TV (if you wish).
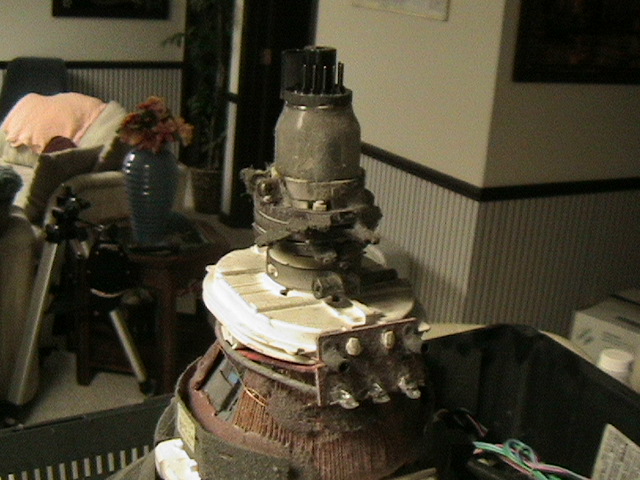
Lets turn back to the tube. This is the stem portion.
Remove the small set of retainer rings
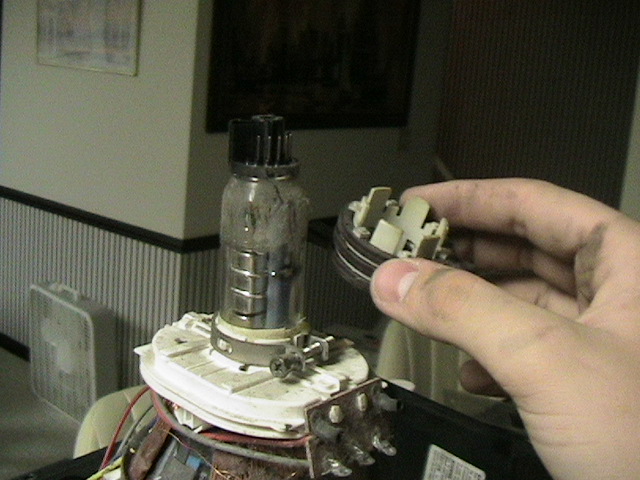
Now, grasb the electromagnet firmly. We will remove this.
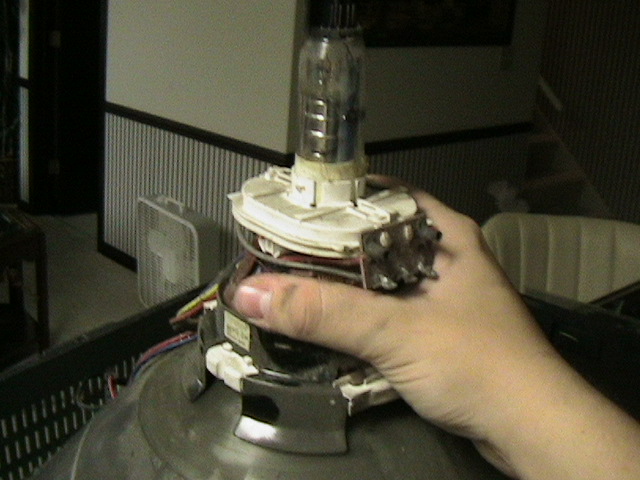
Twist left and right as you pull up, it should come off without a problem.
This is the warning on the tube. Pay special attention to it because it carries real dangers.

Unbolt it completely, then grasb it firmly by the stem and lift up. Set it somewhere safe, such as on the floor. You may now do with it what you wish. To dissect it - Lay it on it's face and wrap a thick blanket over it. Be sure to note the spot that the flyback connected to. With ear protection on (ear plugs or shooting range ear covers) tap it with the hammer where the flyback connected to. Start with light taps and increase force until it breaks. Ear protection is essential, due to the sudden pressure change. I performed this method on a smaller tube without protection and my ears were ringing slightly afterwards.
Back to the flyback. This is a top view of the flyback.
Remove all unneccesary wires so that there is only one wire coming out of it (if they are removeable).
Detach it (if neccesary) from any nearby supports
Then flip the board over and desolder all the pins. Read my soldering guide for information on how to desolder
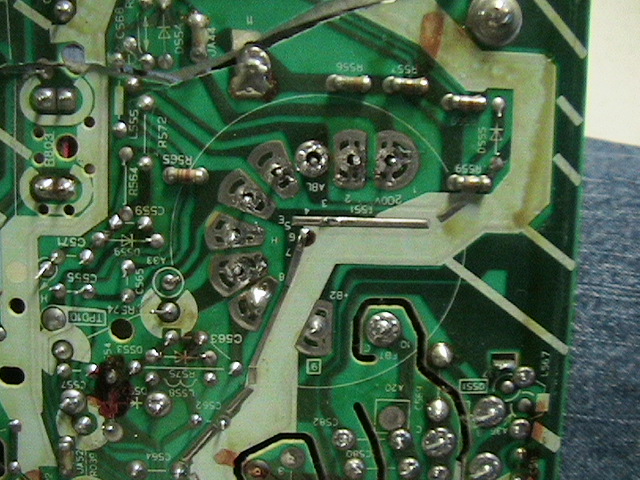
After this, it should take minimal effort, maybe a bit of rocking, to get the flyback off. If it protests, look for a solder joint that wasn't completely desoldered. Seen below is the flyback with the long high voltage lead.
Finally, remove any potentially useful components from the main board. These include, oddly large resistors (high power rating, not high ohm rating), large capacitors, including all metal film or similar, transformers, rare power regulators, and heatsinks.
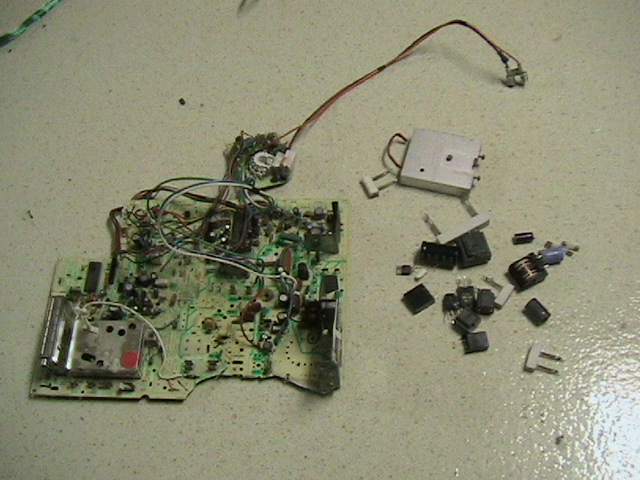
Then dispose of the rest by bringing to an electronics recycling facility (or similar).